A step-by-step guide to building a passive house
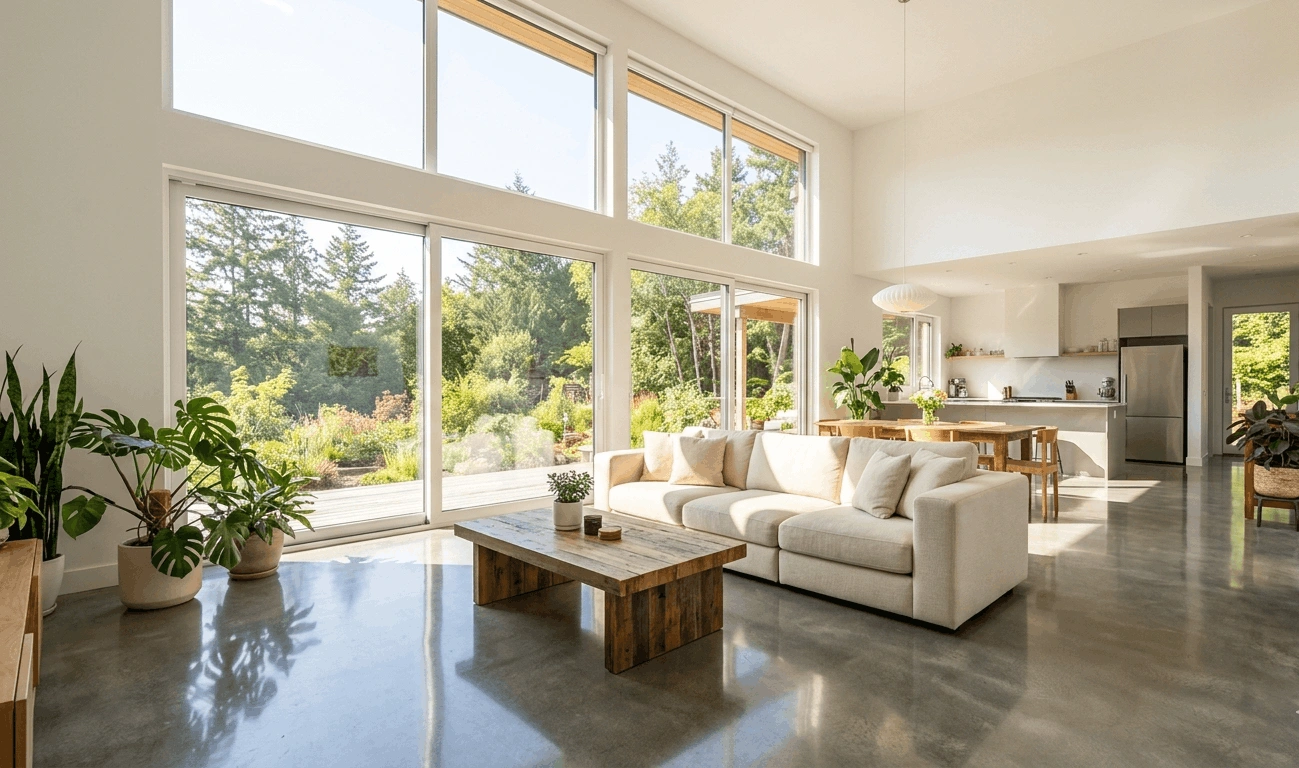
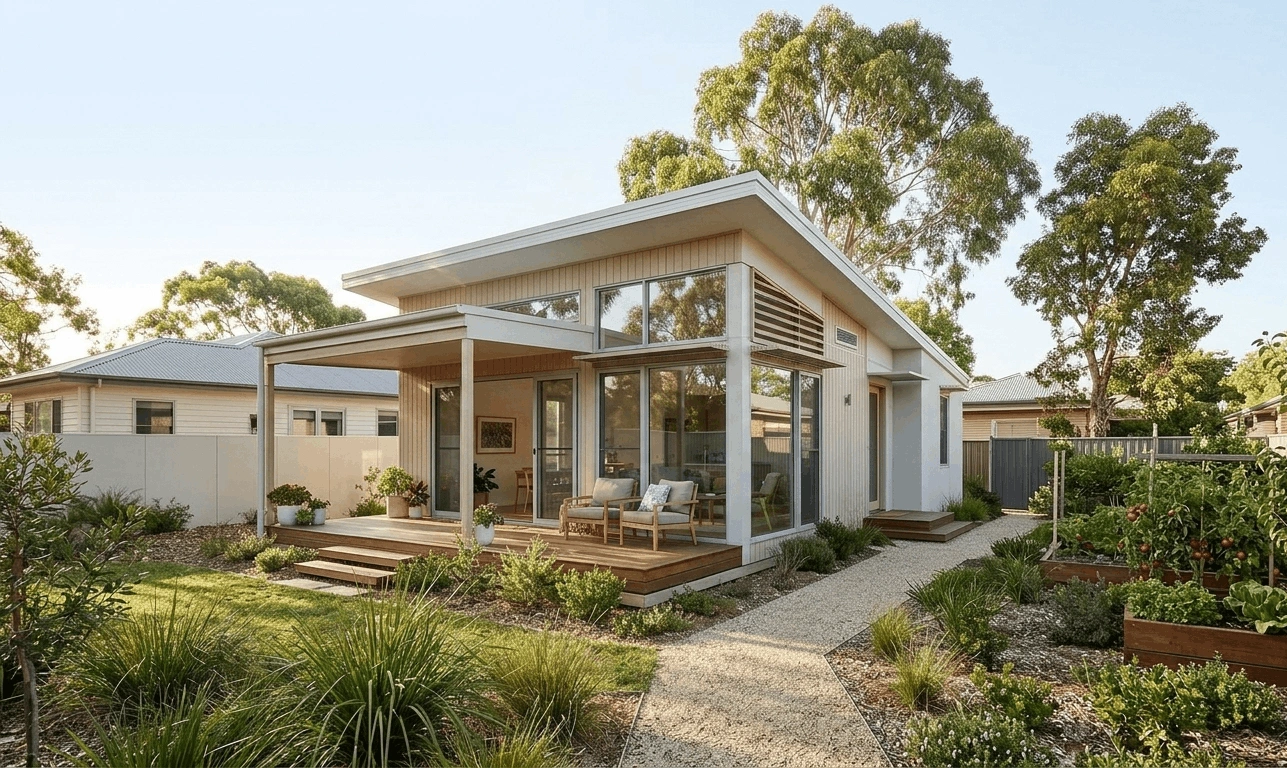
If you’re looking for a home that uses minimal energy for heating and cooling, stays comfortable year-round and reduces environmental impact, a passive house might be your answer.
But, with fewer than 200 passive houses in Australia, knowing where to start in designing and building one might be daunting. While the principles of passive house design are universal, building in Australia presents unique challenges and opportunities, particularly when it comes to managing heat in a hot climate.
This guide breaks down the process into manageable steps, from early design to completed home, so you can understand what it takes to create a passive design house.
Step 1: Define your goals
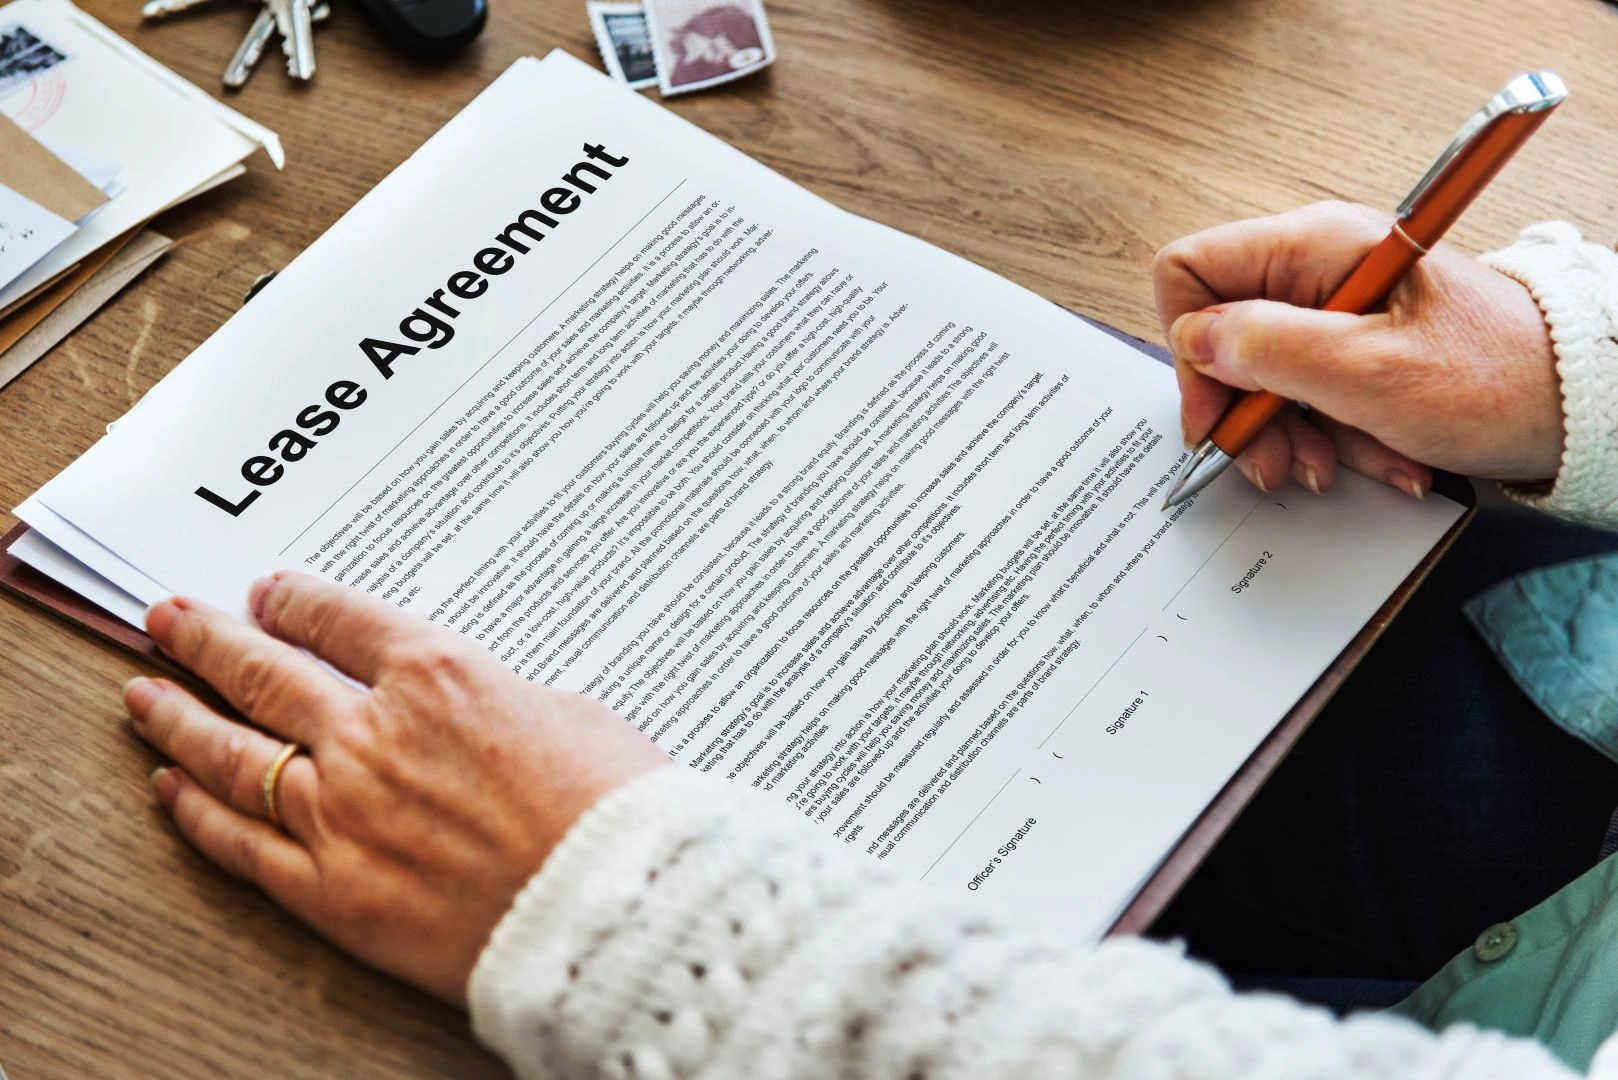
Before you start talking to designers or builders, it’s important to define what you want your passive house to achieve. Are you aiming for full certification, or simply to incorporate the principles of passive building design for better performance? Are you building a new home or looking to retrofit an existing one?
Clarifying your goals will help you communicate effectively with your team. Knowing your budget, timeline and priorities will guide every decision, from the materials you choose to the level of expertise you seek in a passive house builder.
Step 2: Find a passive house designer and builder
Your next very important step is assembling the right team. While any architect or builder can learn the principles, a passive house builder with specific experience in designing a passive house will be familiar with the process, the necessary calculations and the details that make all the difference.
Look for a passive house designer. Working with an experienced passive house designer will ensure your project starts on the right footing.
The same goes for your builder. Find one who is certified or has a proven track record of successful projects. They’ll understand the passive building design philosophy and how to apply it effectively in the Australian context.
Step 3: Engage a passive house certifier
If your goal is to achieve Passive House certification, it’s wise to engage with an accredited certifier early in the process. This might seem premature, but early involvement can save significant time and money. The certifier can provide invaluable feedback on your preliminary design concepts and energy modelling, identifying potential issues before they become costly to fix.
They’ll work with your design team to ensure your passive design house is on track to meet the strict international standards. This early and ongoing communication is a hallmark of successful passive building design projects.Step 4: Conduct a thorough site analysis
- Orientation and sunlight: Passive house design in Australia is all about controlling heat. The ideal orientation is to face the living spaces north, allowing for winter sun to warm the home while being easy to shade in summer.
- Shading: Existing trees, neighbouring buildings and even your home’s own design can provide natural shading. This is especially important in Australia’s hot climate.
- Wind patterns: Understanding prevailing winds can inform where to place openings and how to best use natural ventilation.
Step 5: Choose materials and systems
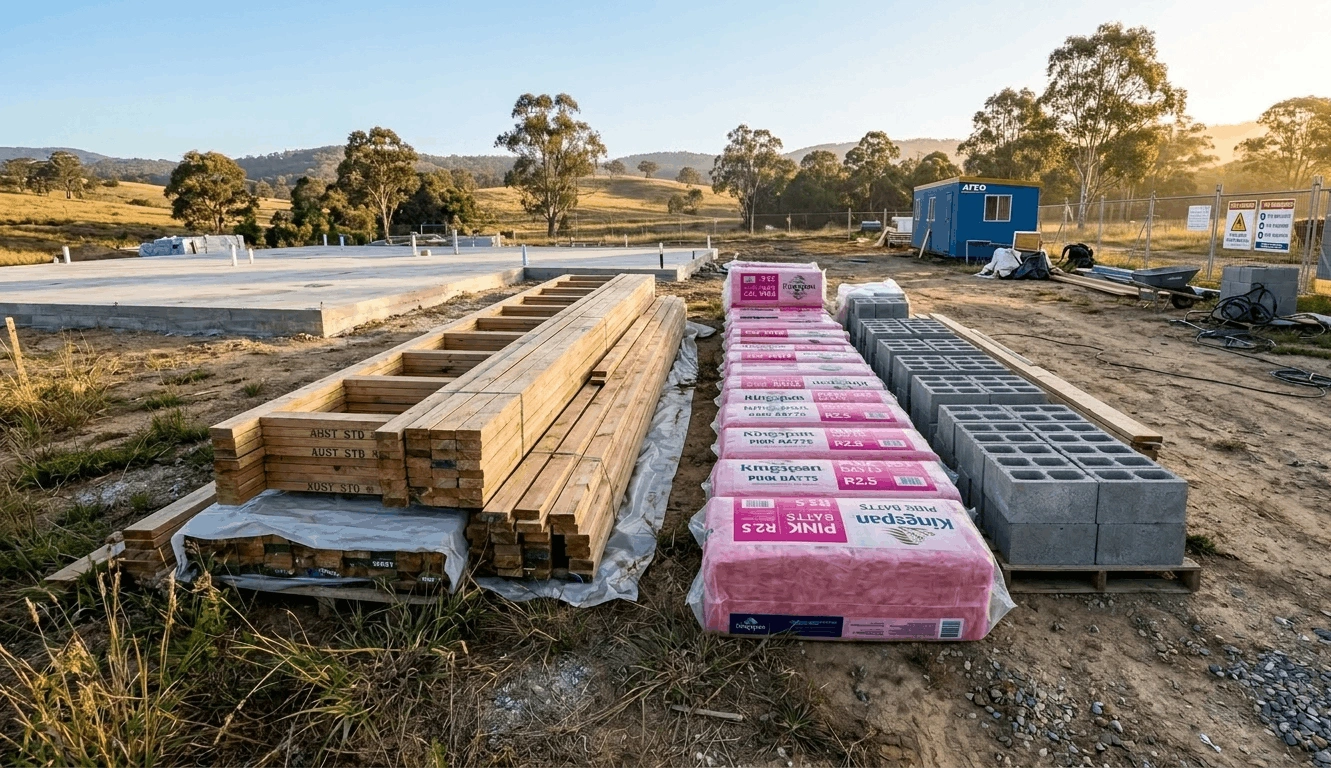
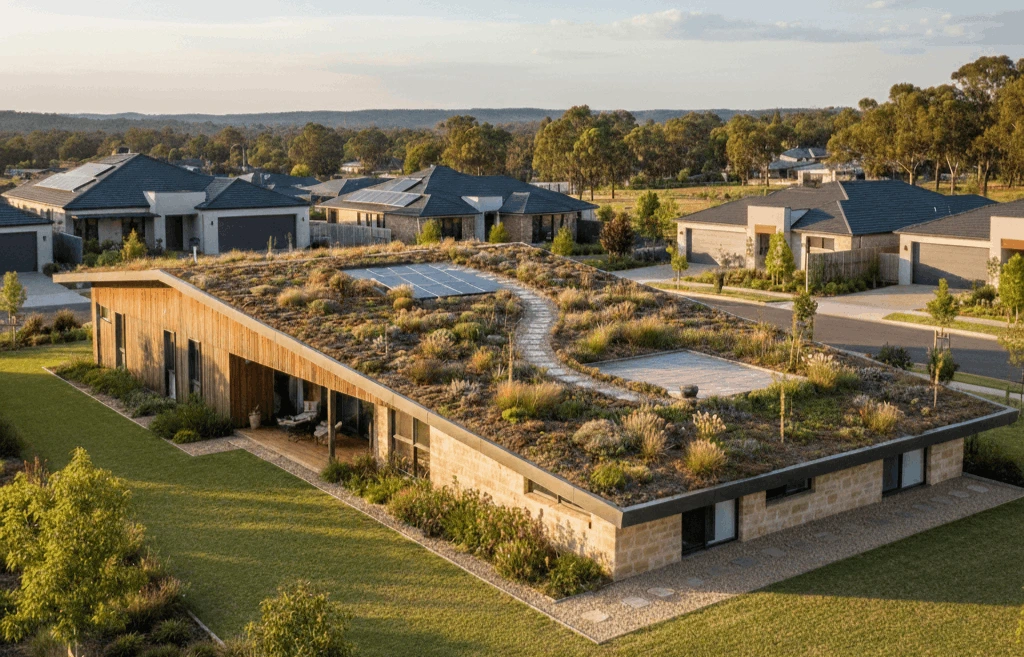
A key part of passive home building is selecting materials and systems that align with the five core principles of a passive design house. At the heart of the approach is a “fabric-first” philosophy – the building envelope itself, including walls, roof, floor, windows and doors, is designed to be highly efficient.
- Airtightness: Materials such as airtight membranes, specialised tapes and carefully sealed joints create a continuous barrier that prevents uncontrolled air leaks.
- High-quality thermal insulation: Insulation materials are chosen for their ability to minimise heat transfer through walls, roofs and floors. In Australia, this keeps the home cool in summer and warm in winter. The type, thickness and continuity of insulation are critical to achieving the energy targets of your passive house design.
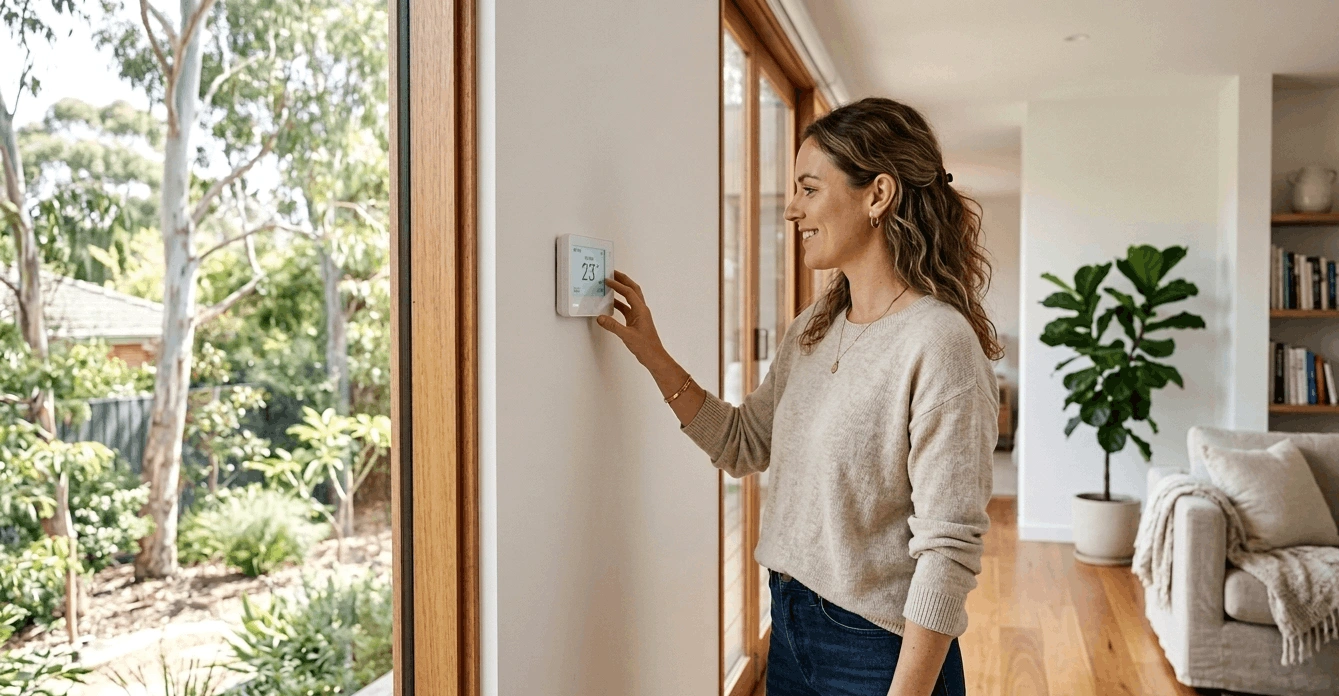
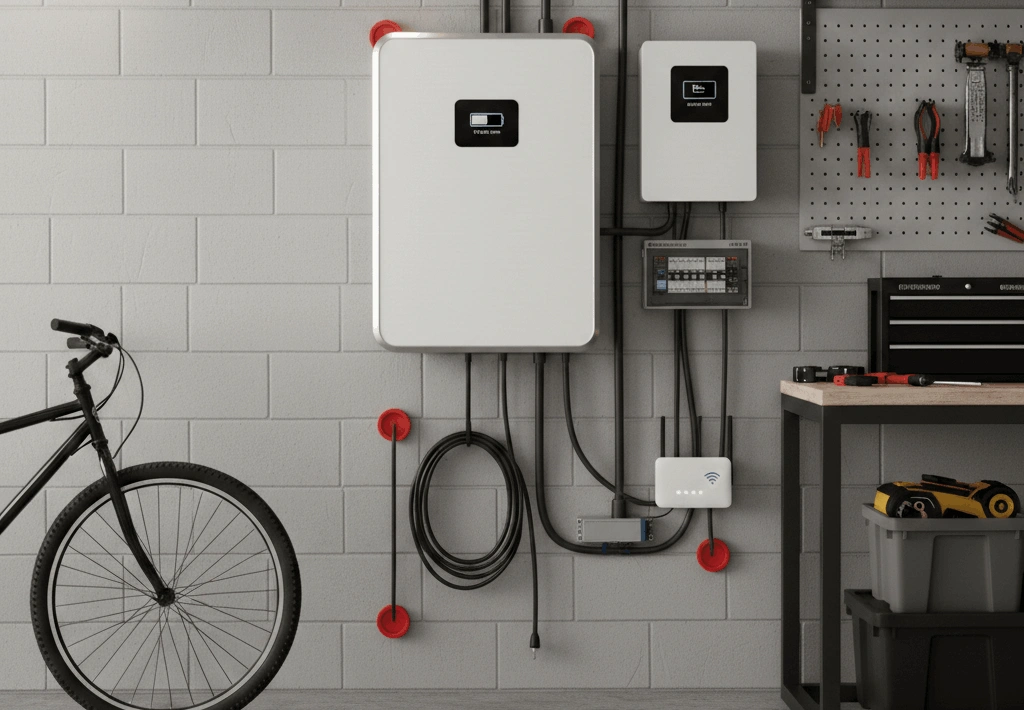
- Mechanical ventilation with heat recovery: Ventilation systems are selected and installed to provide a constant supply of fresh, filtered air while retaining the conditioned air inside.
- High-performance windows: Windows are highly insulated and airtight, with frames and glazing designed to reduce heat loss and gain. Selecting the right windows for orientation, solar access and climate is vital in a solar passive house design.
- Minimisation of thermal bridges: Materials and construction techniques are carefully planned to avoid points where heat can pass through easily, such as structural connections or window junctions.
Step 6: Refine the design
With materials and systems chosen, a detailed PHPP analysis is carried out. This step fine-tunes every aspect of the home – from insulation thickness to window placement – to ensure the passive house designs meet energy and comfort targets.
Accurate data on climate conditions, construction materials and ventilation systems ensures your final design is reliable and ready for construction.
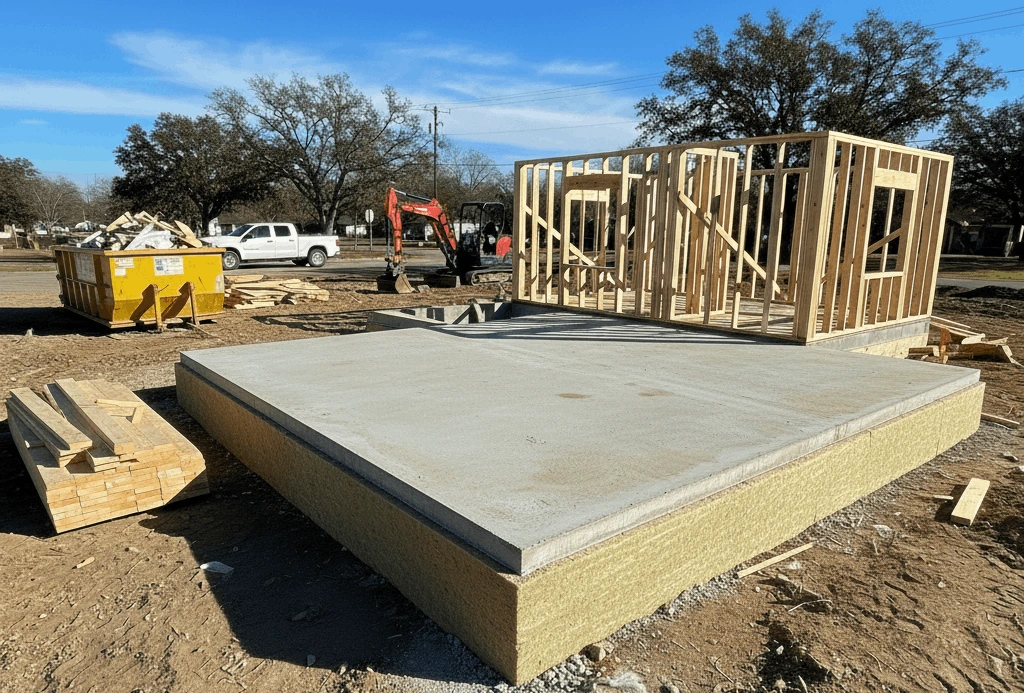
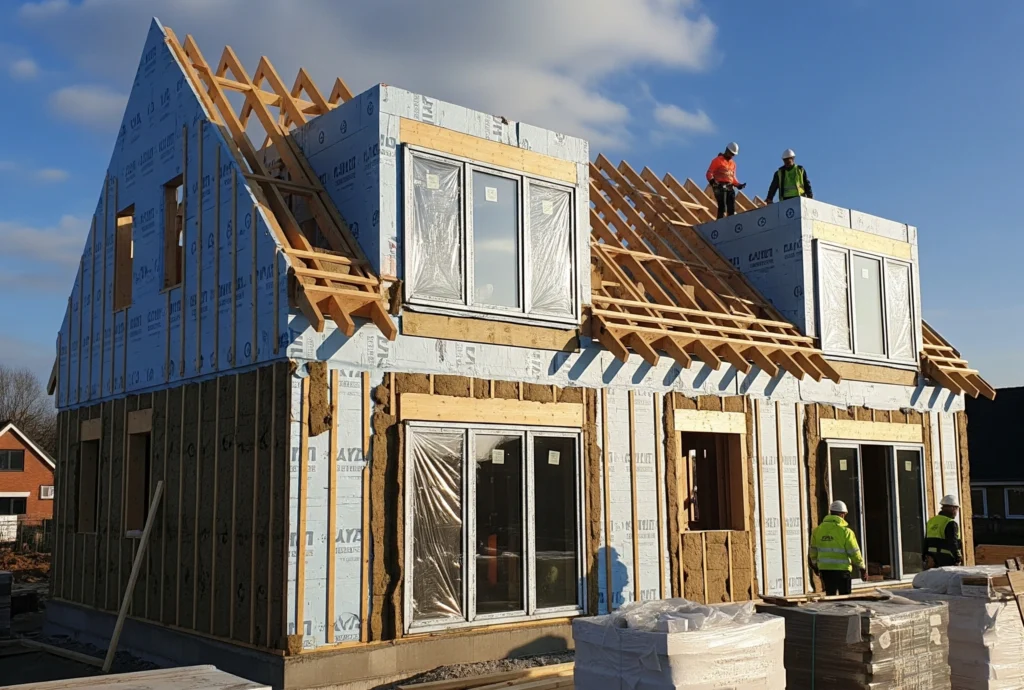
Step 7: Begin construction
The construction phase is where the theory becomes reality. Building a passive house in Australia requires a different level of attention to detail than a standard build.
Passive home builders focus on precise workmanship to achieve airtightness, minimise thermal bridges and correctly install insulation. Mechanical ventilation systems are installed and commissioned to provide constant fresh air while recovering heat.
Quality control is essential. Many builders perform interim tests, including blower door tests, to measure airtightness as the build progresses.
Step 8: Complete final testing and certification
After construction, your home is tested to ensure it performs as intended. A final blower door test is performed to confirm the home’s airtightness. The mechanical ventilation system is also commissioned and balanced to ensure it’s operating correctly and efficiently. This verification step confirms that your passive building design delivers comfort, efficiency and long-term durability.
Although certification is not mandatory, many homeowners choose it for reassurance. A certified passive house in Australia has been independently reviewed to meet international Passive House standards.
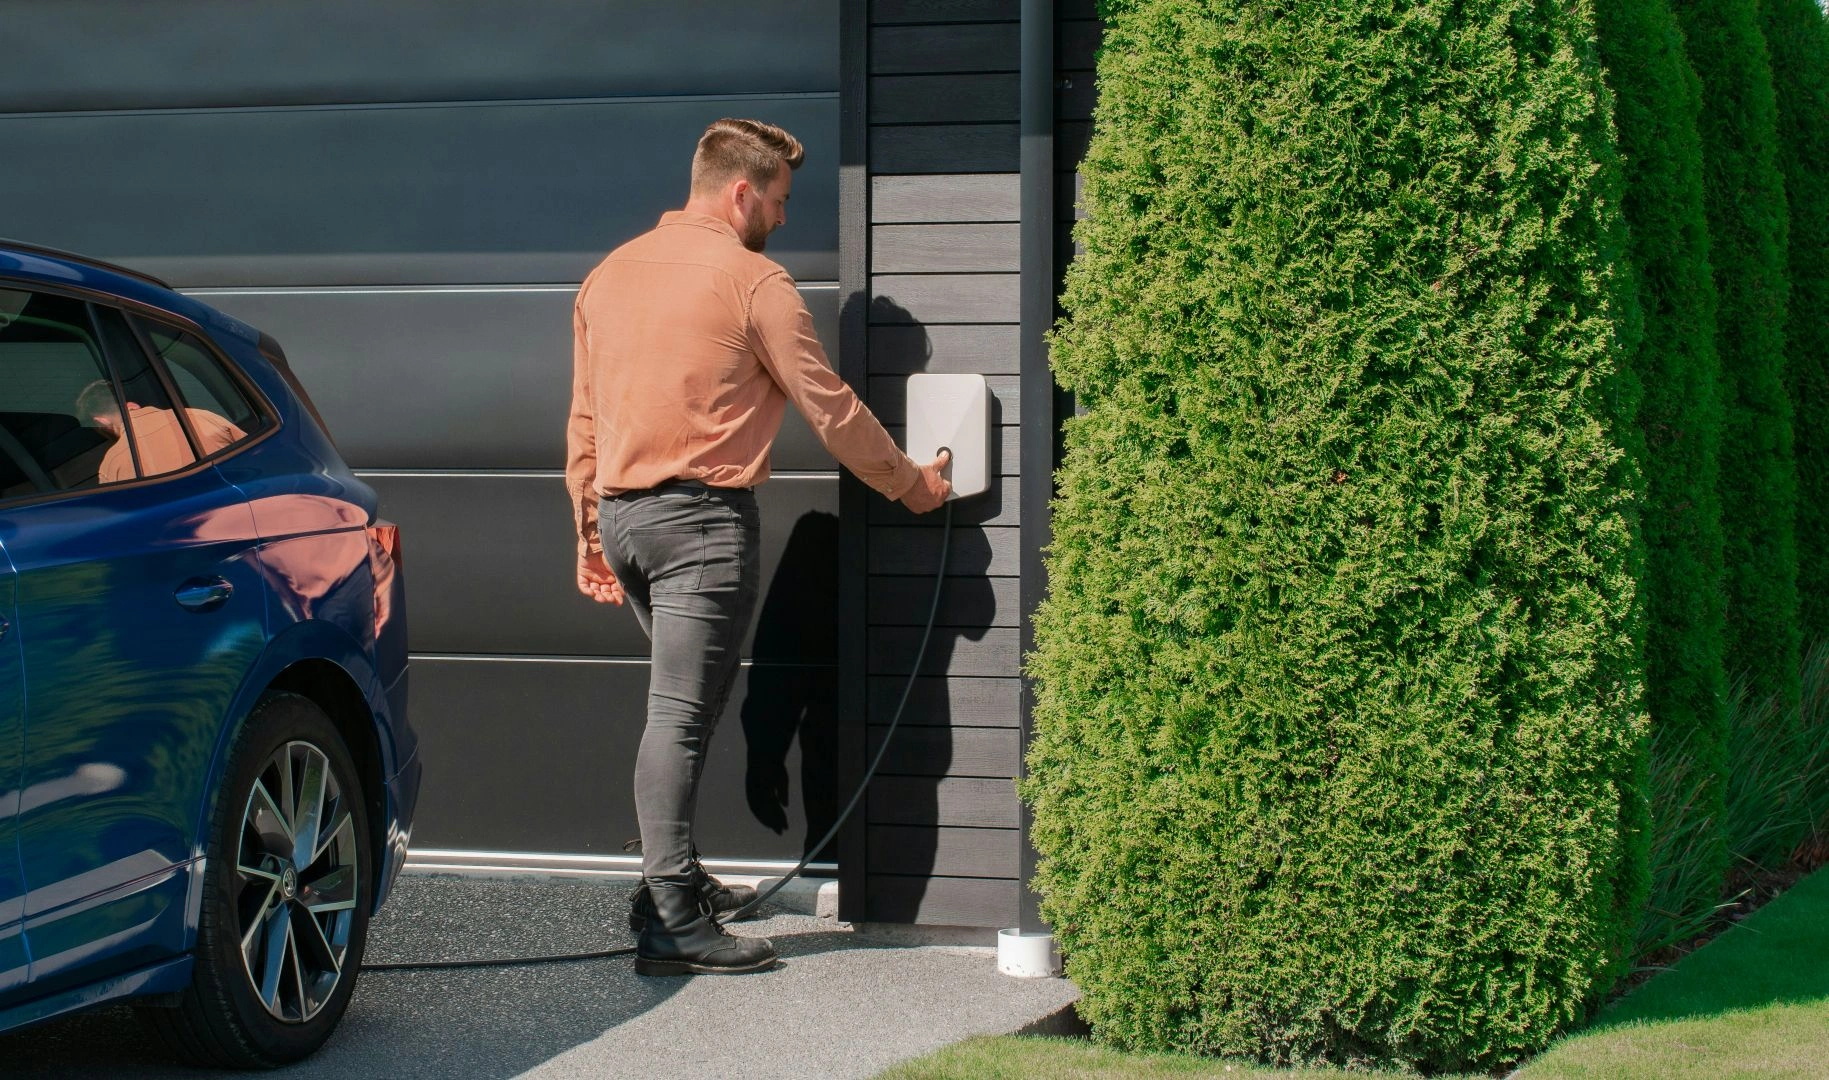
Once complete, your passive house should provide lower energy bills, consistent indoor comfort and a reduced environmental footprint. Many homeowners also enjoy the satisfaction of living in a home that aligns with sustainable building practices, while teaching future generations about energy efficiency and environmental responsibility.